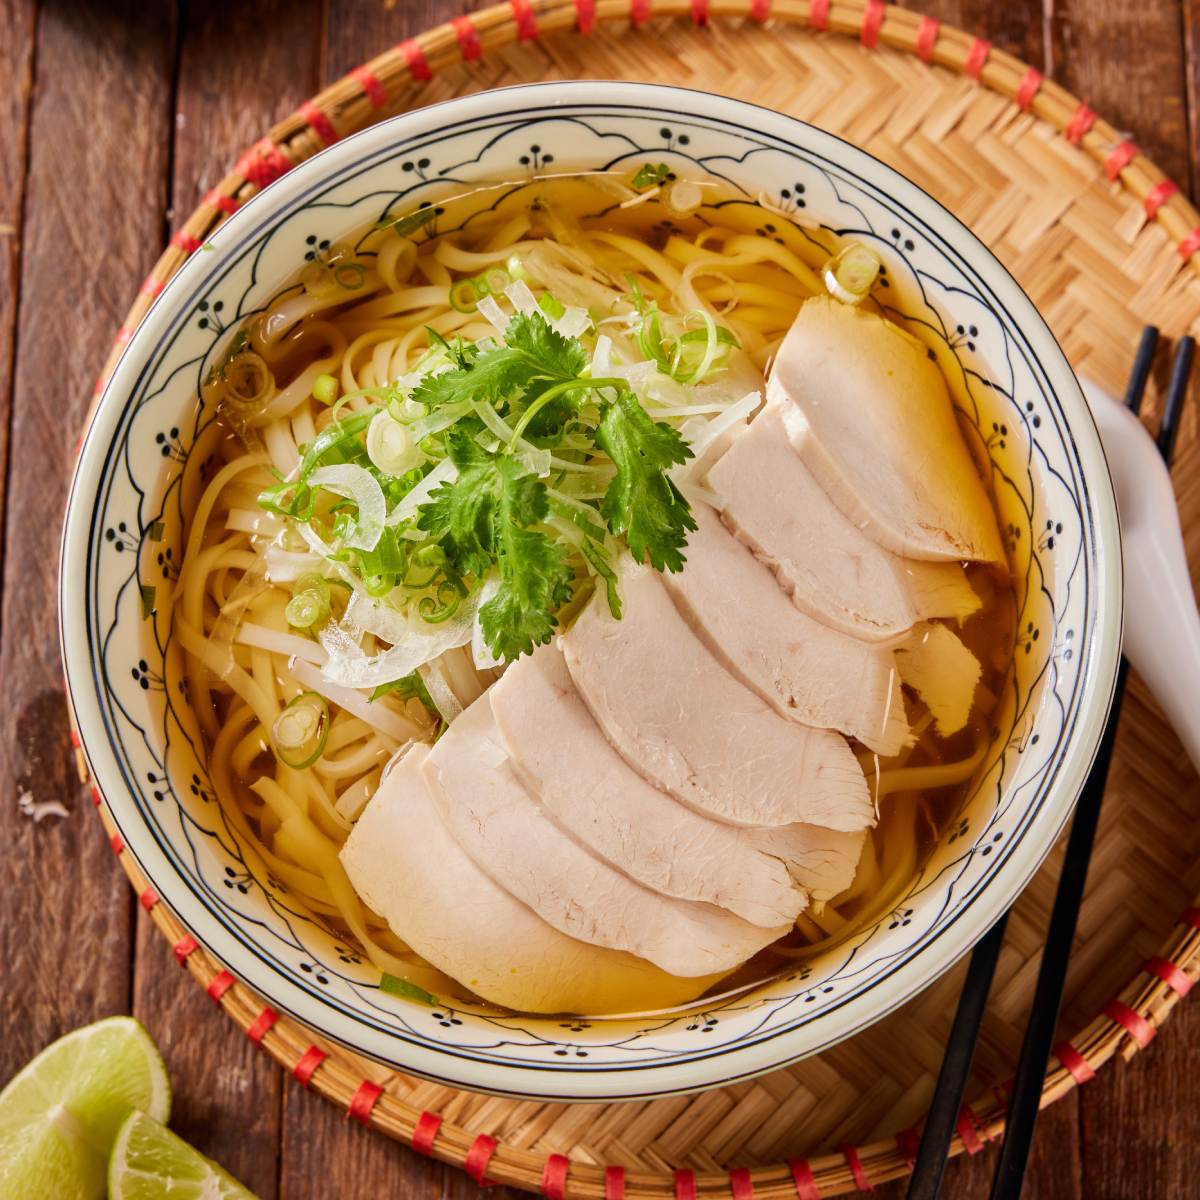
What Makes Phở Gà Special?
Before we get cooking, it’s helpful to understand why this dish is such a favorite:
- Light but flavorful broth: Clear and aromatic, the broth is made by simmering chicken bones with spices like cinnamon, coriander, and cloves.
- Tender chicken meat: Either shredded or sliced, the chicken is juicy and full of flavor.
- Fresh toppings: Herbs like cilantro, green onions, and Thai basil add brightness.
- Chewy rice noodles: Flat rice noodles (called bánh phở) soak up the broth perfectly.
- Customizable: Everyone can make their own bowl just the way they like it.
Ingredients You’ll Need
For the Broth:
- 1 whole chicken (about 3-4 lbs)
- 2 yellow onions (halved)
- A 3-inch piece of fresh ginger (sliced lengthwise)
- 1 cinnamon stick
- 3-star anise
- 4 cloves
- 1 tablespoon coriander seeds
- 1 tablespoon fish sauce (or to taste)
- 1 tablespoon salt
- 2 teaspoons sugar
- 10-12 cups of water (enough to submerge the chicken)
For the Noodles and Toppings:
- 1 package of dried or fresh flat rice noodles (bánh phở)
- 1 bunch green onions (sliced thin)
- 1 bunch cilantro (chopped)
- Thai basil leaves (optional)
- Bean sprouts
- Lime wedges
- Fresh chili slices (like Thai bird’s eye or jalapeño)
- Hoisin sauce (optional)
- Sriracha or chili garlic sauce (optional)
Step-by-Step Instructions
Let’s break down each step so that even a beginner can follow along with ease.
Step 1: Prepare the Aromatics
The first step in making phở gà is preparing the onion and ginger, which gives the broth its signature smoky depth.
How to do it:
- Place your onion halves and ginger slices on a baking sheet.
- Broil them in the oven for 5–7 minutes or until they are slightly charred. You can also do this on an open flame using tongs.
- Set them aside.
Tip: Charring helps release natural sweetness and adds a roasted aroma to the broth.

Step 2: Prepare the Chicken
Now it’s time to deal with the chicken.
How to do it:
- Rinse the chicken thoroughly with water.
- Optional but recommended: Blanch the chicken. Place it in a pot of boiling water for 3–5 minutes to remove impurities, then discard that water and rinse the chicken again.
This quick blanching step makes your final broth clearer and cleaner in taste.
Step 3: Simmer the Broth
This is the most important part. Good broth takes time—but not too much time! Chicken broth doesn’t need to simmer all day like beef broth.
How to do it:
- Place the blanched chicken in a large soup pot.
- Add about 10–12 cups of clean water (enough to fully cover the chicken).
- Toss in the charred onion, ginger, cinnamon stick, cloves, star anise, and coriander seeds (you can toast the spices in a dry pan first for more flavor).
- Bring everything to a gentle boil.
- Skim off any foam or scum that rises to the top.
- Lower the heat to a simmer. Cover loosely and cook for about 45–60 minutes.
After that:
- Carefully remove the chicken and let it cool.
- Continue simmering the broth (uncovered) for another 30 minutes to deepen the flavor.
Step 4: Strain and Season the Broth
Once your broth has simmered to perfection, it’s time to strain it and bring it to life with seasonings.
How to do it:
- Use a strainer to remove all the solids—bones, onion, ginger, and spices.
- Return the clear broth to the pot.
- Add salt, sugar, and fish sauce to taste. Start with small amounts and adjust slowly.
- Keep the broth warm on low heat until ready to serve.
Step 5: Prepare the Noodles
Rice noodles can overcook easily, so make them close to serving time.
How to do it:
- If using dried noodles: Soak in hot water for 30 minutes, then boil briefly (1–2 minutes) until tender.
- If using fresh noodles: Rinse and blanch quickly in boiling water.
Drain well and set aside.
Step 6: Shred the Chicken
When your chicken has cooled enough to handle, remove the skin and bones.
How to do it:
- Use your hands or forks to shred the meat into bite-sized pieces.
- You can slice the chicken breast thinly if you prefer neater presentation.
Tip: Save the bones for a future batch of broth!
Step 7: Assemble Your Bowl
Time to bring it all together!
In each bowl:
- Place a portion of noodles at the bottom.
- Add some shredded chicken on top.
- Ladle hot broth over everything.
The steam will warm the chicken and noodles to the perfect temperature.
Step 8: Garnish and Enjoy
This is where phở becomes your own. Add toppings to taste:
- Fresh cilantro and green onions for brightness
- Thai basil for herbal notes
- Bean sprouts for crunch
- Lime juice for tang
- Chili slices or hot sauce for heat
- Hoisin sauce for sweetness (optional)
Mix and match based on what you love.
Tips for the Best Phở Gà
Want to take your phở gà to the next level? Here are some helpful tricks:
- Use Good Quality Chicken
Organic or free-range chicken tends to have more flavor. If you can get a chicken with the head and feet, use it—these parts add collagen and richness to the broth.
- Don’t Rush the Broth
Even though chicken broth cooks faster than beef, giving it time to simmer helps develop a deeper, more satisfying flavor.
- Clarify the Broth (Optional)
If you want a crystal-clear broth, use egg whites to clarify it. Whisk 2–3 egg whites into cooled broth and heat it slowly. The whites will trap impurities, and you can strain them out.
- Serve Immediately
Phở is best when everything is freshly combined. Avoid letting noodles sit in the broth too long—they’ll get soggy.
Nutritional Benefits of Phở Gà
This isn’t just a delicious meal—it’s good for you, too.
- High in protein: Thanks to the chicken
- Low in fat: Especially if you skim the broth
- Hydrating: The warm broth soothes and replenishes
- Digestive-friendly: Ginger and herbs support gut health
- Customizable: You can make it low-sodium or high-fiber depending on your toppings
Common Questions About Phở Gà
Q: Can I make this ahead of time?
Yes! You can prepare the broth and chicken a day ahead. Store the broth and chicken separately in the fridge. Reheat gently when ready to serve.
Q: Can I freeze it?
Definitely. Freeze just the broth and shredded chicken in airtight containers. Cook fresh noodles when ready to serve.
Q: Can I make it spicier?
Yes! Add more chili slices, chili garlic paste, or serve with extra Sriracha on the side.
Q: Is phở gà gluten-free?
Mostly, yes. Just make sure your fish sauce and hoisin sauce are labeled gluten-free. The rice noodles are naturally gluten-free.
Final Thoughts: Why You Should Make Phở Gà at Home
Phở gà is more than just soup—it’s a symbol of comfort, care, and culinary balance. With this guide, you can bring that feeling into your own kitchen.
By taking the time to make your broth from scratch, choosing fresh toppings, and crafting each bowl with love, you’ll experience the heart of Vietnamese cuisine. Whether you're cooking for your family, impressing friends, or just treating yourself on a cozy day, phở gà never disappoints.
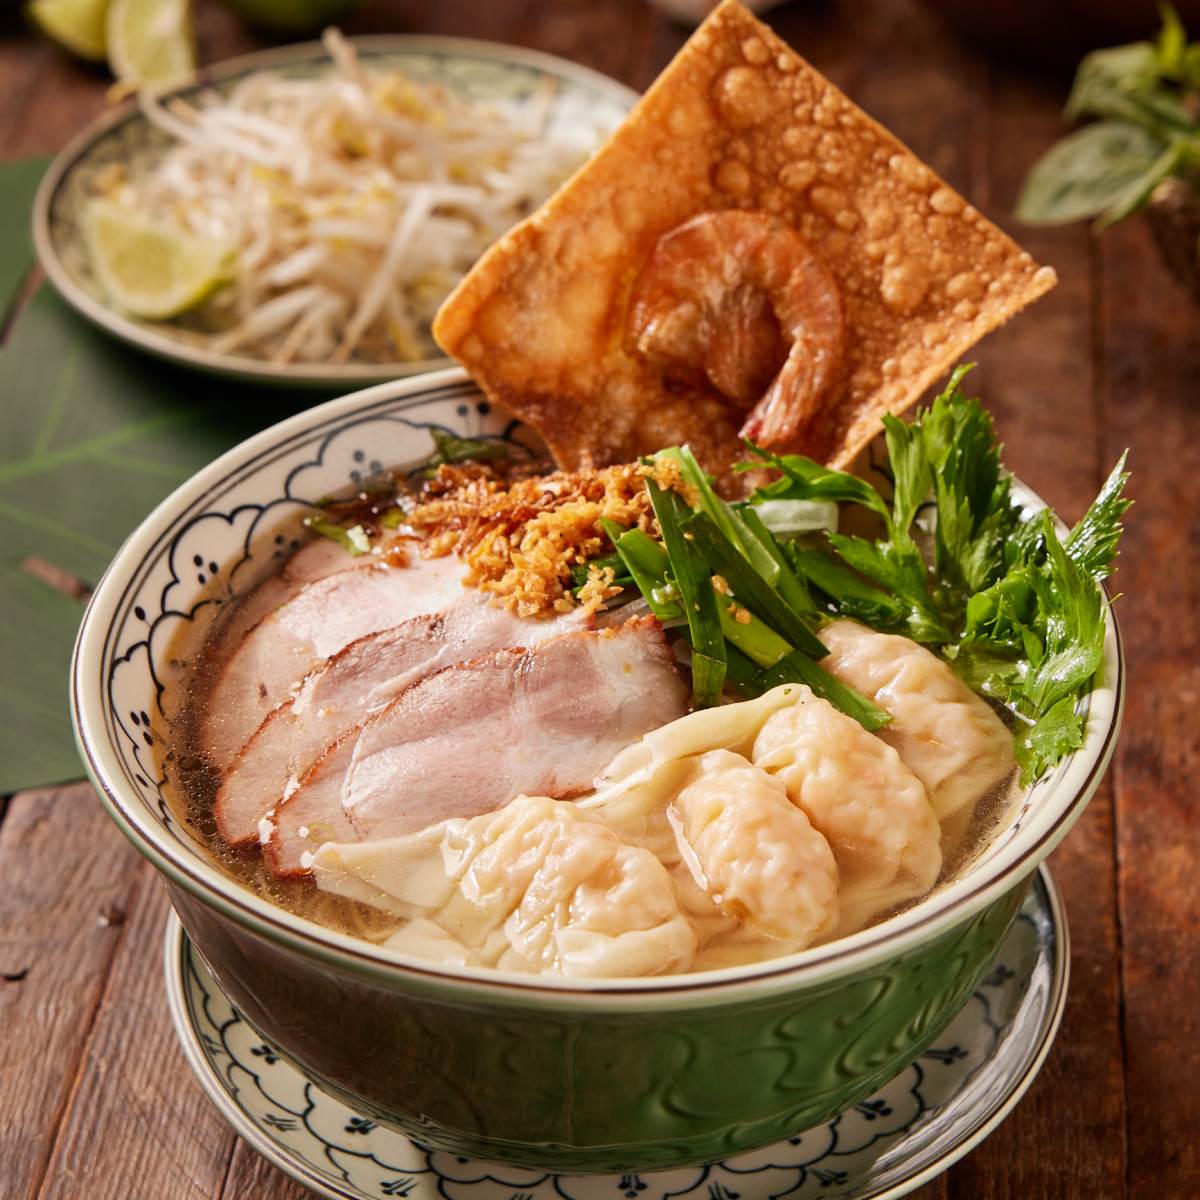
Here are some delicious food and drinks to try when ordering from PHO restaurants in Toronto:
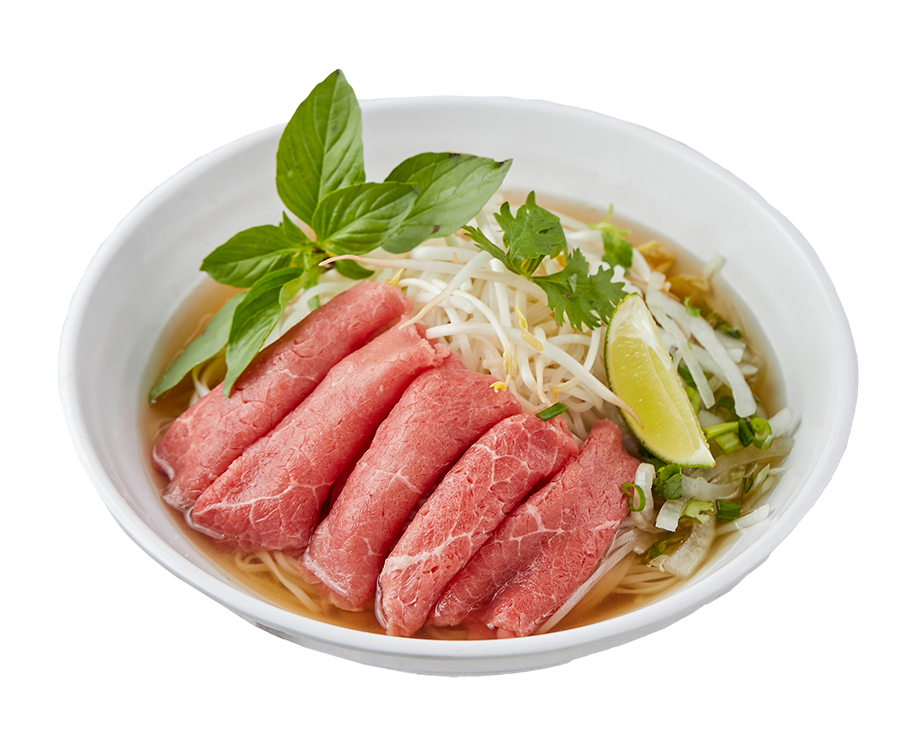
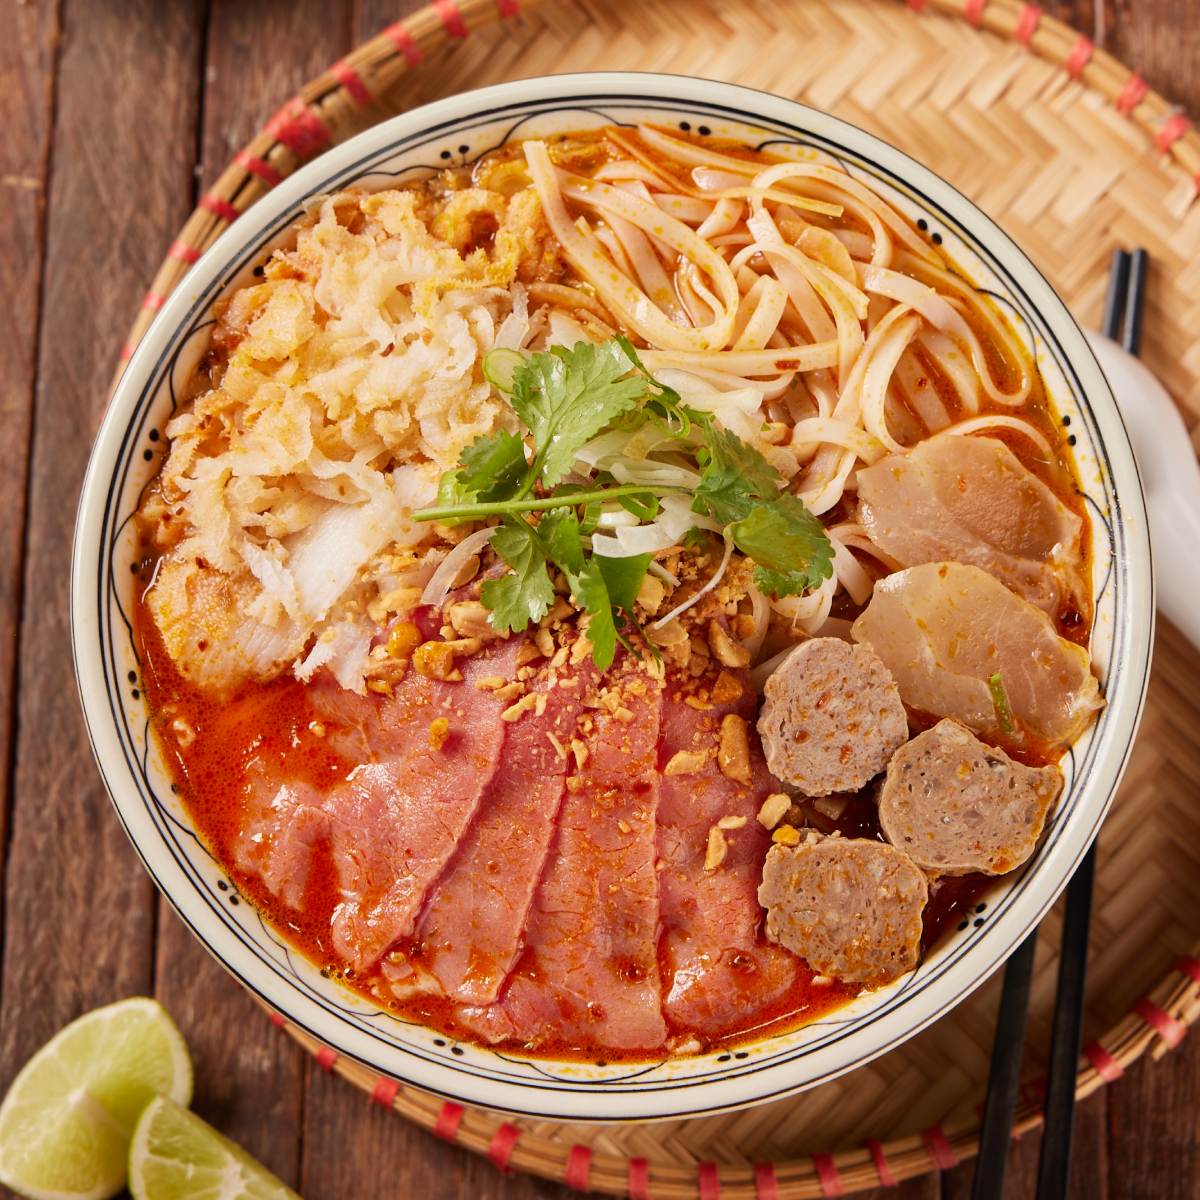
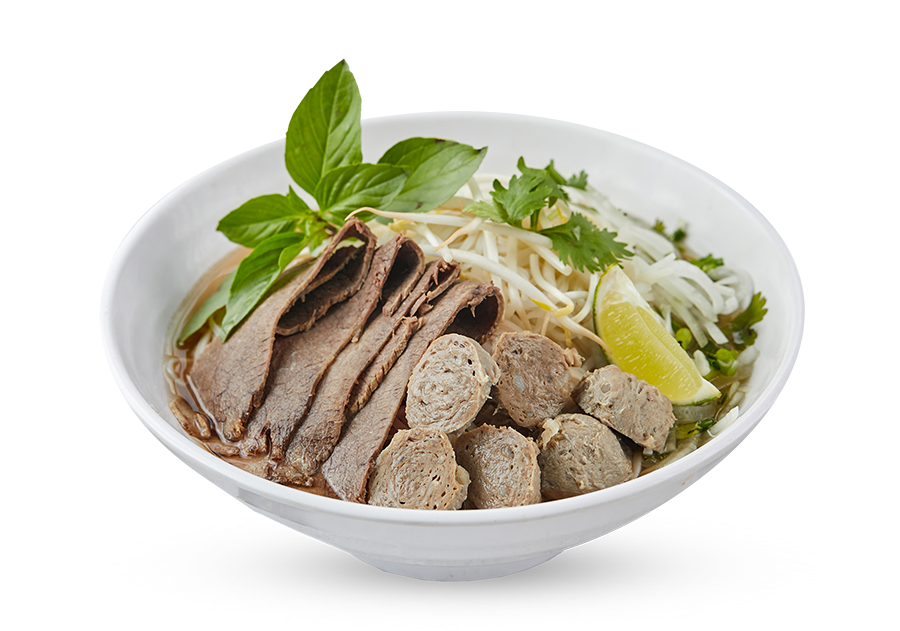
Rare Beef and Beef Ball (Phở Tái, Bò Viên)
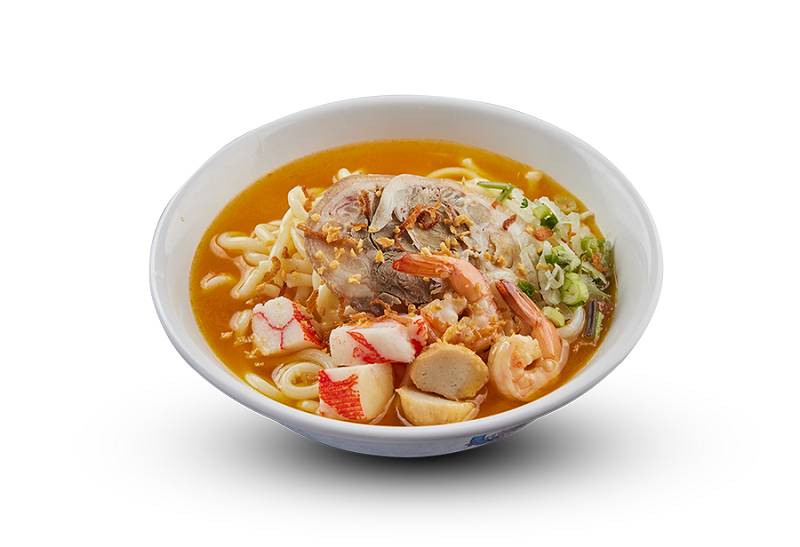
House Special Beef Noodle Soup (Phở Đặc Biệt)
Well Done Beef and Beef Ball (Phở Nạm, Bò Viên)
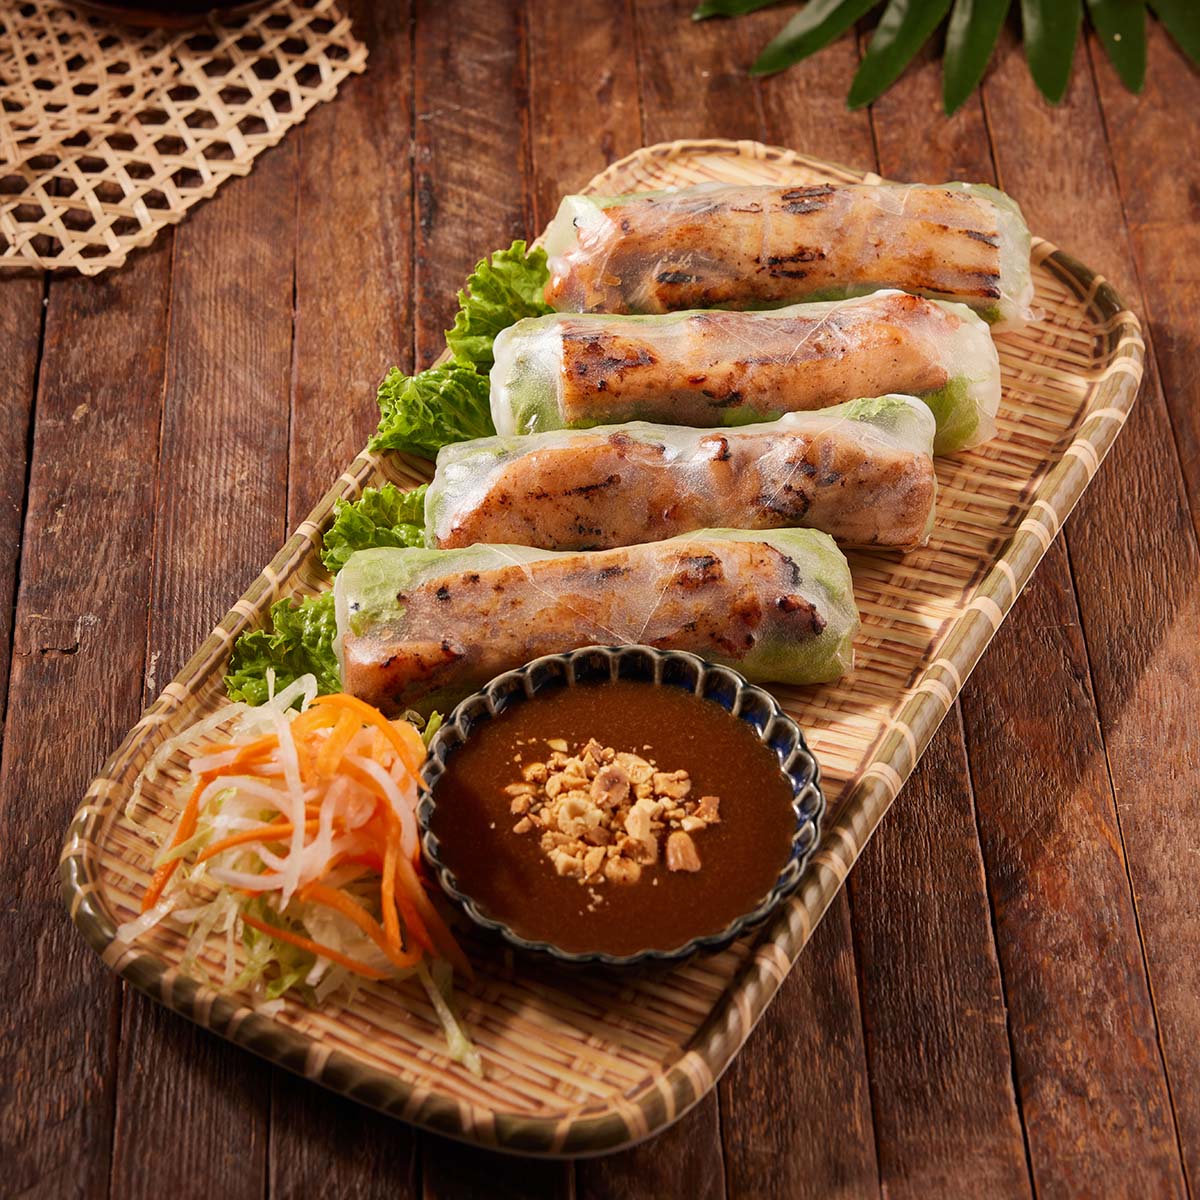
Grilled Chicken Roll (Gà Nướng Cuốn)
Grilled Pork Chop on Rice (Cơm Sườn)